Difference between revisions of "Multiple polarizers experimental apparatus"
Ist1102577 (talk | contribs) |
Ist1102577 (talk | contribs) |
||
| Line 244: | Line 244: | ||
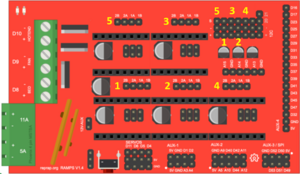
The driver's location on the arduíno mezzanine relates to the step-motor according to the schema below: | The driver's location on the arduíno mezzanine relates to the step-motor according to the schema below: | ||
| − | {| | + | {| border="1" style="width:150px; height:150px; text-align:center;" |
|+ Driver to step-motor | |+ Driver to step-motor | ||
| style="width:66px; height:66px;" | 5 | | style="width:66px; height:66px;" | 5 | ||
Revision as of 13:26, 6 June 2025
Contents
Apparatus description
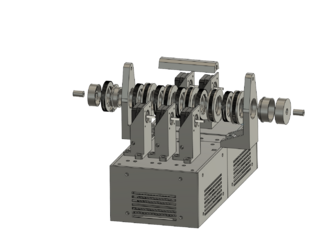
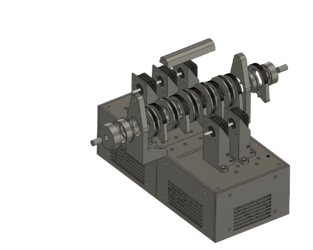
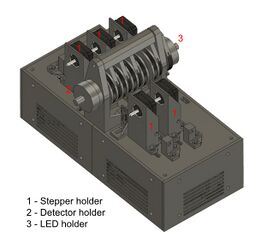
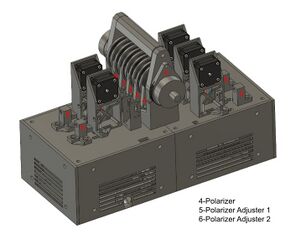
The setup for the construction of the multiple polarizers twin experiment is composed of three main components: (i) the supporting 3D printed plastic parts whose schematics are available here, (ii) a Raspberry Pi running the control software over the internet and performing the video streaming and (iii) the low-level slave controller electronics comprising the sensing and the experiment motorisation.
Mechanical Assembly
In this section, the mechanical assembly of the experiment is explained in detail so that it can be used correctly.
Order of assembly
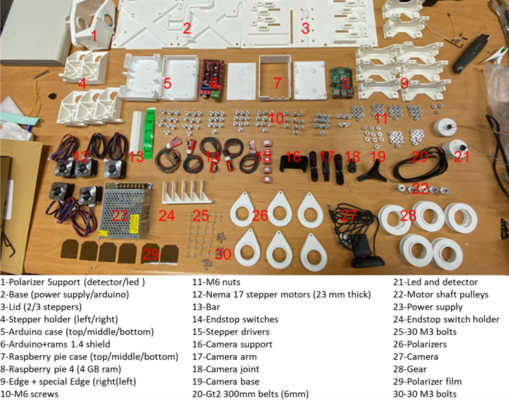
1. Check if all the parts needed to assemble the mechanical structure of the experiment are available.
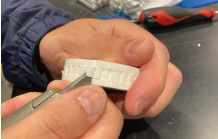
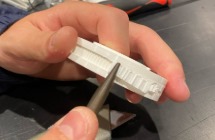
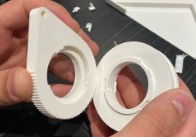
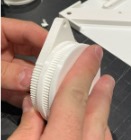
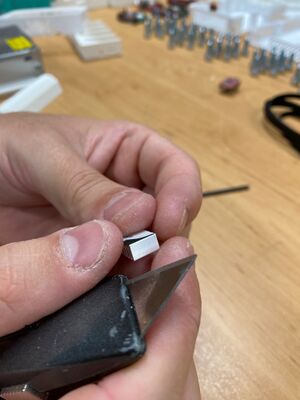
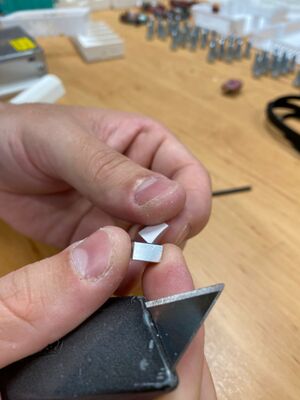
2. Peel the supports of the pulleys using pliers or an X-Acto knife.
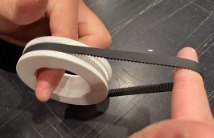
3. Put the belt on the peeled pulleys.
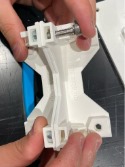
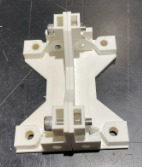
4. Connect the pulleys with the polarizer holders. Make sure to hear a “click” as only one side of the polarizer leads to this firm blockade. Additionally, place the polarizer inside the polarizer holder. (Don't forget to remove the polarizer protection if needed)
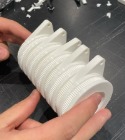
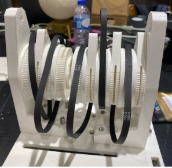
5. Repeat steps 2, 3 and 4 until a complete chain is achieved. You will get a cascaded polarizers set capable to move between each one. Do not forget to put the belts on, as they are not represented in the example picture.
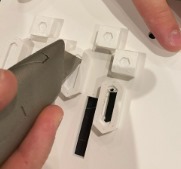
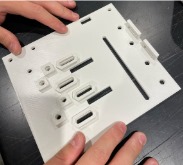
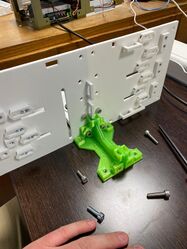
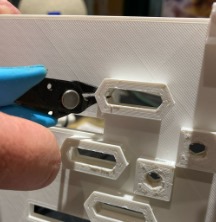
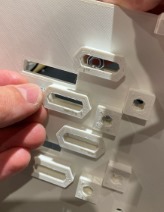
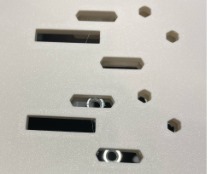
6. Cut the thin layers covering the holes of the main plates of the structure.
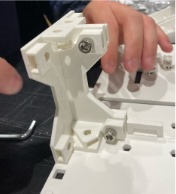
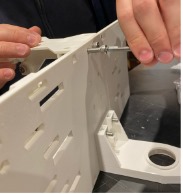
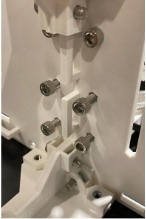
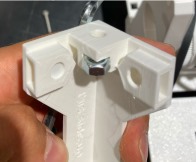
7. Place two of the four pillars together and put the nuts in the specific holes on top of one of the pillars.
8. Insert the bolts through the holes and bolt the two pillars together.
9. Place the main plates next to each other.
10. Place the bolted pillars on the side of the junction of the two plates.
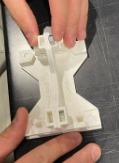
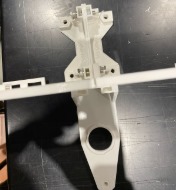
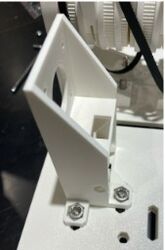
11. Place the chain support on the other side of the main plates, so that they are in opposite positions. Check if the chain support is placed on top of the hexagonal holes.
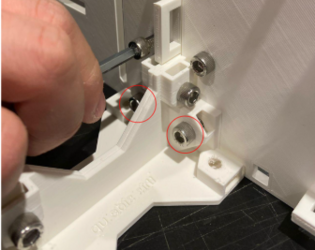
12. Place the nuts on the chain support inside the “boxes” closest to the chain support “wall”.
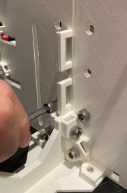
13. Insert the bolts through the holes on the bolted pillars and bolt the pillars, the main plates and the chain support together.
14. Insert the nuts inside the other holes of the chain support.
15. Insert the bolts through the main plates and fully bolt the chain support to the main plates.
16. Repeat steps 7 and 8.
17. Go to the opposite side of the main plates and place the bolted pillars under the circular holes.
18. Place the nuts inside the top holes of the bolted pillars.
19. Insert the bolt through the main plates and bolt them together with the pillars.
20. Connect the chain with the bolted chain support and with the loose one, as well.
21. Place the nuts inside the specific “boxes” of the loose chain support.
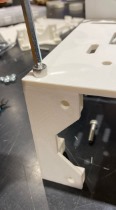
22. Insert the bolts through the holes in the main plates to connect the loose chain support to the main plates.
23. Pick one of the pillars and place the nut inside the middle “box”.
24. Place it beneath the main plates in one of the corners.
25. Insert the bolt through the main plates to bolt them to the pillar.
26. Repeat steps 23, 24 and 25 until the four corners of the structure are supported.
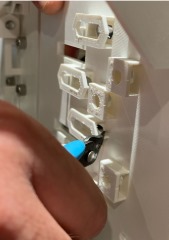
27. Remove the small pillars on the surface facing downwards of the main plate to allow nuts to be inserted into those “boxes.”
28. Insert the nuts inside those “boxes”.
29. Place the stepper holder above the holes.
30. Insert the bolts through the holes of the stepper holder in order to connect it to the main plates.
31. Repeat steps 28, 29 and 30 for the other four stepper holders.
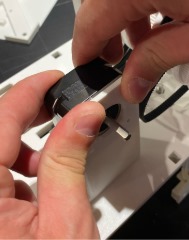
32. Place the stepper motor on the stepper holder by first putting the wires through the top and bottom holes. Then, hear a click to ensure the stepper motor is well fixed. NOTE: the cable connection may vary depending on the driver, it is not reliable to use cable colors.
33. Repeat step 32 for the other 4 stepper motors.
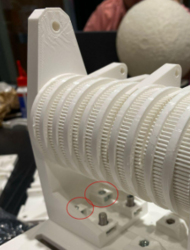
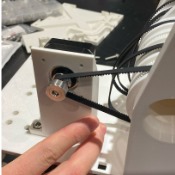
34. Place the belt in the pulley.
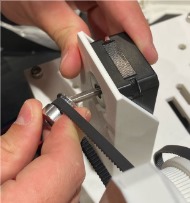
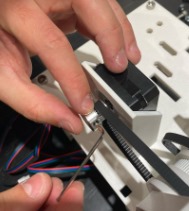
35. Connect the pulley (with the belt) to the stepper motor.
36. Tighten the pulley.
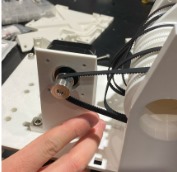
37. Adjust the stepper holder position to ensure the belt is not loose.
38. Tighten the bolts of the stepper holder to fix it.
39. Repeat steps 34, 35, 36, 37 and 38 for the other four stepper holders.
40. Assembly completed.
Electronic circuit
The experiment has two main electronic parts, the drivers (1) for the step-motors and the light source and detection (2).
Electonic component assembly
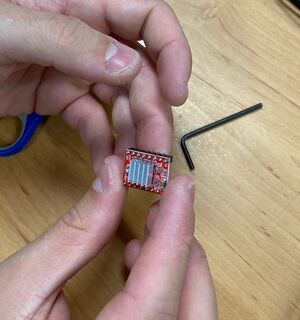
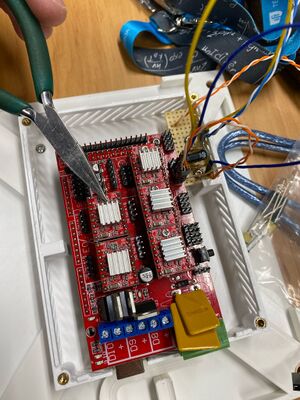
1. Select a heat sink.
2. Remove the paper protection.
3. Glue the heat sink to the step-motor driver.
4. Repeat the steps 1, 2 and 3 for the other five step-motor drivers.
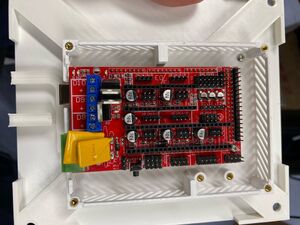
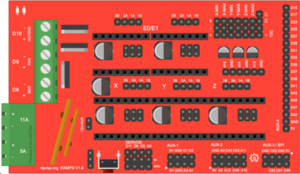
5. Place the step-motor driver on the RAMPS 1.4 (RepRap Arduino Mega Pololu Shield)
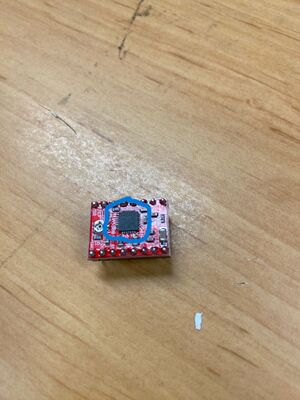
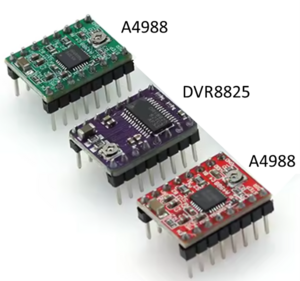
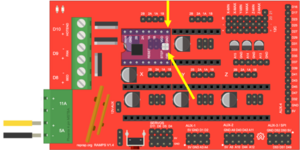
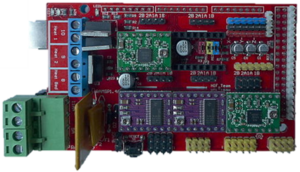
6. Check if the step-motor driver is well placed, meaning its ground connection is as shown in the image below and that the bolt (potentiometer) is on the opposite side of the power supply (in the case of the green and red step-motor drivers) or in the side of the power supply (in the case of the purple step-motor drivers).
7. Repeat the steps 5 and 6 for the other five step-motor drivers.
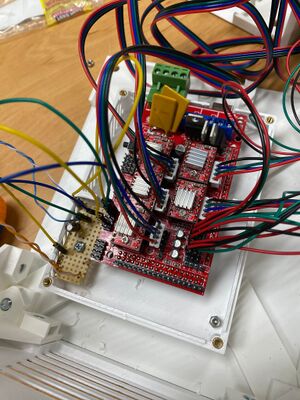
8. Connect the step-motor wires to the step-motor drivers through the RAMPS 1.4. Check the pinouts connection through its colour and according to the information provided in the subsection Step-motor drivers.
Step-motor drivers
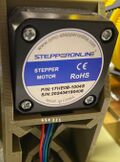
The step-motor drivers can have multiple design outputs according to the producer. The stepper pin-outs are numbered from 1-6, from left to right from the front view (shaft pointing you, connector downwards). The driver's location on the arduíno mezzanine relates to the step-motor according to the schema below:
| 5 | 3 | N/A |
| 1 | 2 | 4 |
By using a proper cable the connections should follow the table below:
| Motherboard pin-out | Cable color | Step-motor pin (A4988) | Step-motor pin (DRV8825) |
|---|---|---|---|
| 2B | Red | 6 | |
| 2A | Green | 3 | |
| 1A | Black | 1 | |
| 1B | Blue | 4 |
Light source and detection
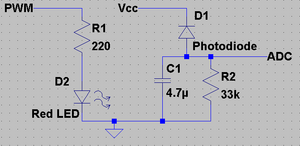
The red LED is fed by a PWM output pin (A4) from the main controller board, which allows for a variable light intensity. The default PWM from the board has a 490Hz modulation in steps of 1/256, giving a resolution of less than 0.5%.
After passing the cascade of polarizers, the signal is detected by a photodiode. This photodiode is inversely biased with a resistor to ground in order to have a zero signal when no light is present.
As the signal is modulated and its frequency has to be removed we use a low-pass first order RC-filter. As the time constant is ~1s, is necessary to delay the first acquisition for the settling of the circuit voltages. Then, as the signal varies smoothly and slowly due to the polarizer rotation, and oversampling is in place, a much lower settling time is needed.
Optical path
The optical path consists of a light source (1) (red LED) placed in the focal point of a semi-spherical lens (2) where the light rays are collimated in a parallel beam of light.
Then it is polarized by the fixed polarizer (3) before entering the cascade of variable tilt polarizers (4). This chain will dim the light according to each polarizer angle and it passes the second lens in order to focus on the detector, a photodiode (6).
Before reaching the photodiode, light may pass a red filter (5) to narrow the bandwidth and limit external noise. This filter is not damned necessary and can be replaced by red cellophane paper or even absent in case of a fully opaque plastic structure.
Optical path alignment
The main body of the device has the light propagating in parallel rays through the cascade of polarizers. Those rays are later focused on the sensor (photo-diode). It is crucial for a good signal-to-noise reading to have the system perfectly aligned. For that end, the linear position of the emitting LED and the photo-diode receiver can be adjusted according to the following procedure:
- First assemble the system lens and the light source (LED);
- Energize the LED and follow the emerging circular image from the output, eg. projecting it in a wall a couple of meters apart;
- Move the LED position in order to have an output image closer to the size of the exit circle (~30mm);
- Install the structure for the cascade of polarizers without any lens or hard film in it;
- Put in place the second collimating lens in order to focus the light in the photo-diode;
- Using a voltmeter for reading the collected light intensity to the photo-diode terminals, move back and forward the photo-diode position in order to maximize the signal;
- Firmly glue the light source and photo-diode positions in their final position.
Optical path calibration
Once the support structure is in place, is necessary to calibrate the absolute position of each polarizer; effectively all the polarizers will have a small offset giving a systematic error. It is important to note these angular value that maximizes the transmissivity.
The first polarizer is fixed and shall be positioned with a couple of degrees in order to avoid starting the experiment from a maximum, allowing for easy observation of such maxima. Consider having it around ~15º to 30º and well secured, eventually with glue. Then start the calibration procedure by inserting the second polarizer and rotating it until the maximums are detected and measured (usually two). Take note of their value and leave the second polarizer at rest in the measured position. Now insert the third polarizer and repeat the procedure for the detection of the maximums and do this for the rest of them. Every time a hard film or lens is installed it has to be firmly fixed or glued. If glue is used it must not damage the polarizer film.
You will end up with a table of maximum transmission angles, leading to the reference value of maximum intensity in the cascade of polarizers.
Later, when performing the experiments these values of offsets must be considered in order to eliminate the systematic error of the system.
